Tried out a Double Pallu saree? If not, it will be a great opportunity to look stylish
You are now anticipating the most exciting day of your life— your wedding day. Many of us know the stress that can accompany planning for a wedding, and the endless list of tasks that must be completed. But the best part about planning it all is that it’s your special day. Your wedding is one occasion where you should get everything that your heart desires and that might just include sewing your own wedding dress!
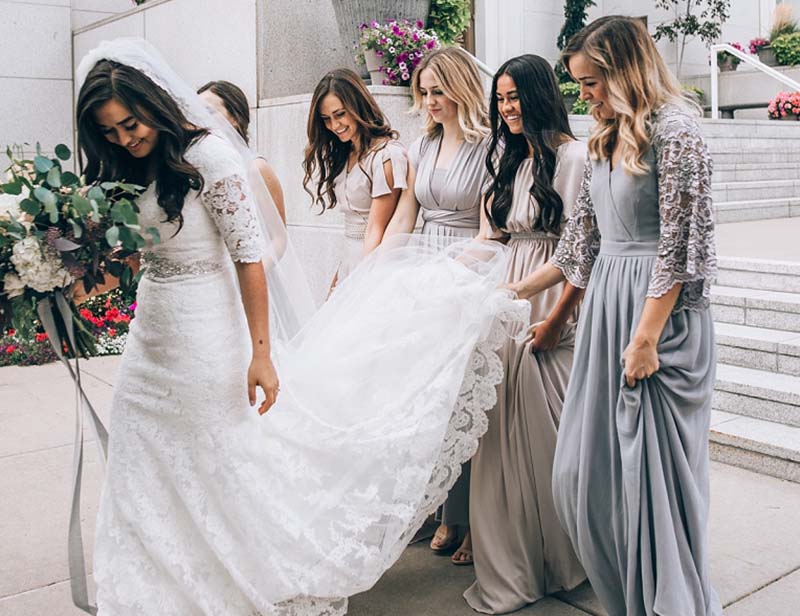
Your wedding dress should be special, it should be everything that you want, and for that reason, why not make it yourself? You will captivate every one of your guests and when a bride-to-be asks where you bought your dress from, imagine the shock when you tell everyone that you made it yourself. Yes, it will be challenging at times, but imagine having the creative control by making a custom piece down to the very last detail.
Do not fret! We’re going to break this down the process and walk you through, step by step, in order to show you how to sew your own wedding dress.
Start Thinking About What you Want
Now that you’ve decided to go the DIY wedding dress route, it’s time to start thinking about exactly what you want. The choices are endless! Do you want a loose flowing dress or a fitted bodycon dress? How about a satin draped dress or a poufy tulle dress with Swarovski crystals? Or would you like a combination of a few different styles? Start writing down some ideas so that when you head out to the fabric store, you'll have somewhat of a guide and this also ensures that you don't forget anything— and don't be afraid to bring inspiration pictures!
Select a Pattern
The first step in executing the process is to choose a pattern. There are two options. The first option is that you can go online and browse through all of the wedding dress patterns. The second and most fun option is going to your local craft or fabric store and browsing through all of the patterns and bridal pattern books to find what best represents your style. Bring inspiration pictures and get advice from the people working— they will be glad to help!
Make a Trip to the Fabric Store
I’m telling you, this will be the ultimate hub for just about anything that you need. Even if you plan on making it a 30-minute trip, don’t be surprised if you walk out 3 hours later. Time truly does fly when you’re having fun.
You can scour the fabric section to get an idea of all of the colors and textures that can go into your design. At this point, it’s best to have your size and measurements available to have the most accuracy when choosing a pattern size.
On the back of the pattern envelopes, there is a list of all of the notions and materials that you will need to complete the dress.
The Necessities
- Bridal Fabric: Although silk is customary, it’s your creation so you can switch things up if you’d like. Just be sure that if you decide to go with other fabric options, consult with an employee because it may change the notions and materials that you need to use.
- Coordinating thread: There are options for your thread use. For example, some like their thread to totally match the color of the fabric for a seamless appearance. This also allows for the different designs on the dress to pop. Depending on what look you are going for, others may like the contrast of a different color thread.
- Zipper: A zipper is especially necessary if your bodice is going to be more fitted, for ease to get in and out.
- Straight Pins: Useful to hold everything into place.
- Sewing scissors: Never underestimate a good pair of scissors. Dull or poor-quality shears can absolutely ruin the fabric.
- Muslin fabric: The muslin fabric will be your mock-up dress. It’s totally worth the investment. Wedding fabric, such as silk, can be expensive. To ensure a great fit, and that you get exactly what you want, make your dress out of muslin fabric first. That way, you’ll know exactly what changes or alterations that you want to make. Also, you will avoid making any major mistakes on costly fabric.
- Trimmings: Take a gander through the trimming section. Just because you have a pattern does not mean that you cannot add your personal touches to it.
Now That You Have the Supplies
Now you’re ready. You know what dress you want and what fabrics and colors that you will be using. It’s time to cut out the pattern pieces. Since one pattern often comes with multiple size options, be mindful to pay attention to the size markings while cutting them out. Use the stick pins to pin your pattern pieces to the muslin fabric.
The First Try-On
Now that you have your mock dress made out of the muslin fabric, it’s time to try it on. You want the full effect in order to know how everything is going to fall into place. For this reason, you must try everything on. Take all of the undergarments, stockings, and shoes included, and try them on before you try on your dress.
It’s good to consult with a seamstress throughout the process. Sometimes it’s good to have a second set of eyes, and they will help guide you along the way and maybe prevent a few mishaps that may happen. Plus, in order to accurately understand what alterations may be needed, you need to be standing in an upright position, facing forward. It’s impossible to determine any changes or alterations that you need to make while you’re twisting and trying to see and measure yourself.
Now to the Final Project
Now that you know how to sew your own wedding dress, you’re ready to officially get started. You have all of your measurements for your DIY wedding dress, your mock dress made out of muslin, and all of the necessary alterations needed; it’s time to make your actual wedding dress. Take all of the things that you’ve learned while making your mock-up dress and apply them here. Since you are now working with the actual material that you’ll be wearing, be sure to consult with a professional throughout the process.
With all of the stress that can take place while planning a wedding, the last thing that you want is to have the main focal point of the event, which is you, rushing to make last-minute adjustments. For this reason, it’s a good idea to have your wedding gown sewing completed at least 2 months before your wedding date; sooner if possible. Have a portable hand-streamer on hand at all times, including at the venue, for any minor touch-ups.
You Should be Beaming with Pride
This is by far, the most rewarding DIY project that you have ever, and most likely will ever do. Be proud of yourself for taking on the challenge! The process wasn’t always easy, but man is it worth it! Wedding gown sewing isn’t something that everyone can put on their list of accomplishments, so this is a feat that can be bragged on for generations to come.
Trending Articles


Leave a reply